Photography · Gear
What to Pack for Zion Photography
A short, practical kit for photographers who already own a camera: support, glass, storage and a bag you can hike in.
Start With the Shot
Pack for the frames you plan to make. A canyon-wall trail like Riverside Walk asks for different gear than a wide viewpoint such as Canyon Overlook. The photo spots guide matches each place to its kind of shot, so decide there first and then build the bag.
The Core Kit
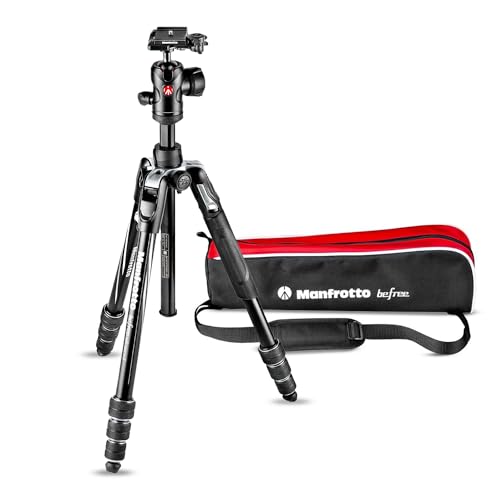
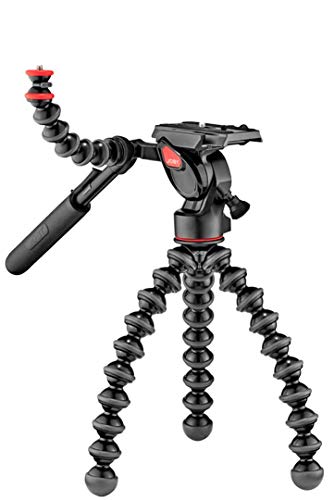
- A light tripod. For low-light frames before and after the sun is on the walls. A compact travel tripod is easier to carry on a trail than a full-size one, and a flexible tripod can grip a railing or rock where a standard one will not fit.
- A circular polarizer. Useful for managing glare on water and wet rock and for richer skies. Match the filter thread to your lens.
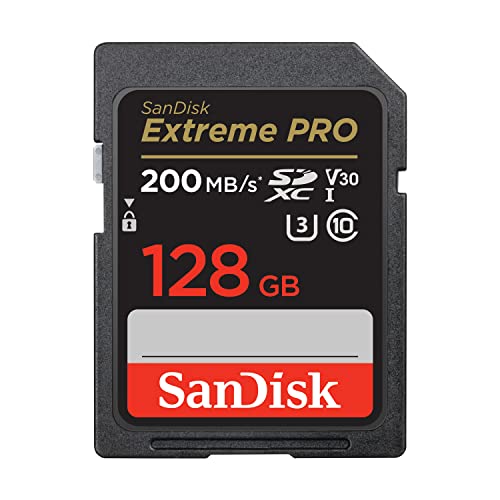
- Plenty of memory. Carry spare cards so a full day of shooting never ends early.
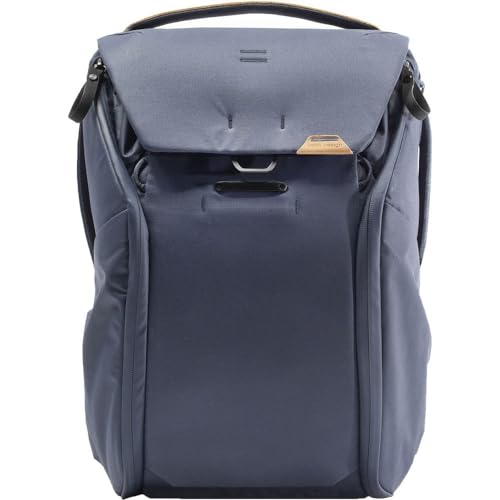
- A comfortable camera bag or backpack. You will be walking, so choose one that carries well on trails and still leaves room for water and layers.
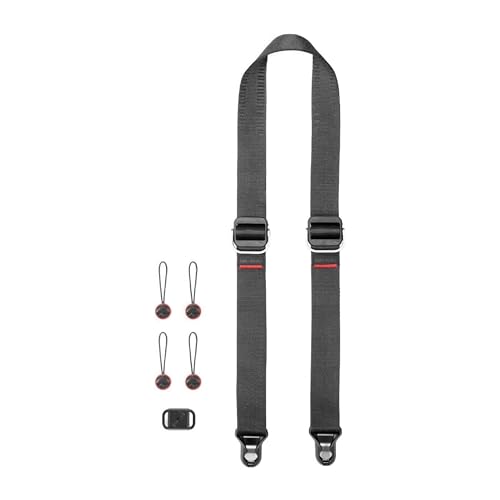
- A camera strap you will actually wear all day.
- A lens-cleaning kit. Spray from river walks and dusty trails end up on glass, so bring a blower, brush and cloth.
Trail Realities
Photo gear adds weight to any hike, so match the bag to the trail. On the Narrows, the trail guide notes you are walking in the river, which is a poor place for an unprotected camera; plan for water protection before you go. For a tripod near a drop-off, such as the ledges at Canyon Overlook, keep your footing ahead of your frame.
Bring water, sun protection and layers for yourself too; the hiking guides cover what each trail asks for. In cold months, see photographing Zion in winter for traction and warmth.
Plan the Light
Whatever you carry, check golden-hour times for your date, then use the sunrise and sunset guides to pick where to be.
Photography Gear for Zion
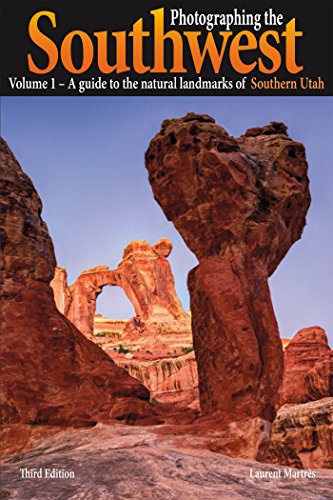
Support, filters, storage and a location guide for photographers who already own a camera. Best of Zion earns from qualifying Amazon purchases, at no extra cost to you.