Trails & Hikes · East Side
Canyon Overlook Trail
The best big-canyon view in Zion for the least effort - a short, scenic ledge trail on the east side that ends at a railed overlook high above lower Zion Canyon. No shuttle, no permit, about an hour round trip. The only real challenge is finding a parking spot.
Overview
If you only have time for one short hike in Zion - or you want a huge view without the fear factor of Angels Landing - the Canyon Overlook Trail is the pick. In about half a mile each way, it climbs a carved ledge on the east side of the park and delivers a sweeping look down into lower Zion Canyon, framed by the West Temple and the Towers of the Virgin. It's a favorite for sunrise and sunset.
It's short, but it isn't a paved stroll. The trail runs along rock ledges with drop-offs (railings guard the most exposed sections), climbs and descends over uneven steps, and crosses slickrock. Sure-footed kids do it all the time, but keep them close.
What makes this trail worth the detour is how much view it packs into so little distance. Most of Zion's big payoffs cost hours of climbing and, in Angels Landing's case, a permit lottery. Canyon Overlook delivers a comparable sense of scale - cliffs, a slot canyon, and a canyon floor hundreds of feet down - in a walk most families finish well within an hour, gear included.
Getting There & Parking
The trailhead sits on the east side of the park, in the small lot just east of the Zion–Mt. Carmel Tunnel - not on the Zion Canyon Scenic Drive. That means you drive to it yourself; the canyon shuttle doesn't come here. The catch: the parking area is tiny and fills early. Arrive at first light or later in the afternoon, and never park along the highway shoulders where it's prohibited.
If you're driving a larger vehicle through the tunnel, be aware of the tunnel size restrictions - oversized vehicles require a paid escort and one-way traffic control. Check current tunnel rules before you go. If the lot is full when you arrive, the practical move is to continue through the tunnel, do something else on the east side or in Zion Canyon, and circle back later - there is no legal shoulder parking to fall back on, and hunting for a spot only burns daylight you could spend hiking.
Trail Route
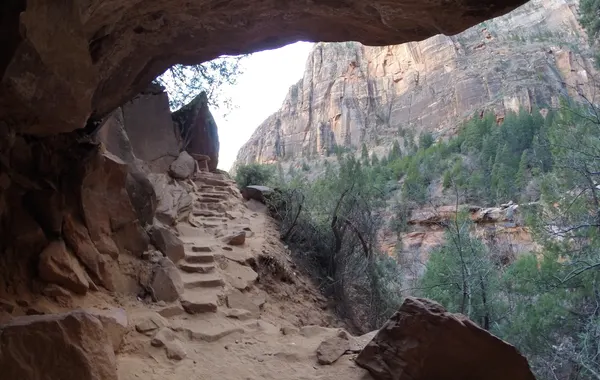
From the lot, the trail climbs immediately via rock-cut steps, then traces a shelf carved into the wall above Pine Creek slot canyon - one of the most photogenic stretches of trail in the park. Boardwalks and railings protect the narrowest ledges. The path undulates along the rim before opening onto a broad slickrock overlook guarded by a chain-link railing.
From the viewpoint you're perched atop the Great Arch of Zion - a "blind" arch in the cliff below you - looking straight down the switchbacks of the Zion–Mt. Carmel Highway and out over the lower canyon. Most hikers spend ten or fifteen minutes at the railing before heading back; there is enough room to spread out and let the crowd at the rail rotate through without feeling rushed. Return the way you came - there is no loop option, so the walk out mirrors the walk in.
Because the whole route is out-and-back, the trail rarely feels crowded the way a stacked loop can - hikers heading up and hikers heading down simply pass each other on the ledge, and the overlook itself is wide enough that a full lot's worth of visitors can be there at once without anyone feeling boxed in.
What to Bring
- Water - it's a short hike, but there's no shade for most of the route and no water source on the trail. A liter is plenty for most hikers.
- Grippy shoes - the slickrock and rock-cut steps are uneven even though the distance is short. Sandals and worn-out soles are the wrong call here.
- Sun protection - the ledge trail faces open sky for most of its length; a hat and sunscreen matter even on a one-hour outing.
- Traction device in winter - if you're hiking between roughly November and March, throw microspikes in the car in case the shaded ledges are icy.
- Camera or phone - this is one of the most photographed short views in the park, and the overlook rewards a few extra minutes spent composing a shot.
Best Time to Go
Early morning is best for two reasons: light and parking. At sunrise the canyon walls glow and the lot is empty; by mid-morning both the crowds and the sun arrive. Late afternoon and sunset are also excellent - the light rakes across the canyon walls at a lower angle and the lot tends to be a touch calmer than the mid-afternoon peak. Avoid the trail in ice or snow - the shaded ledges hold slick spots well into winter mornings, and the drop-offs are unforgiving. Spring and fall bring the most comfortable temperatures for a hike with almost no shade.
Safety
The hike is short and popular, which can lull people into treating it as risk-free. It isn't - the drop-offs along the ledge section are real, and the surface underfoot is uneven the entire way.
- Unrailed sections - railings and chain-link fencing guard the narrowest, most exposed stretches, but not every ledge along the shelf trail is protected. Stay alert near the edge even where there's no railing.
- Ice in winter - the trail runs along a shaded, north-facing wall for much of its length, so ice can linger on the ledges long after snow has melted elsewhere in the park. Turn around rather than pushing across a visibly icy stretch.
- Kids at the overlook - the viewpoint itself is railed, but keep young children within reach on the approach, where footing is uneven and some drop-offs are unguarded.
- Wet slickrock - slickrock is markedly more slippery when wet than dry sandstone; treat rain or recent rain as a reason for extra caution, not a reason to turn back entirely.
Hiking Essentials
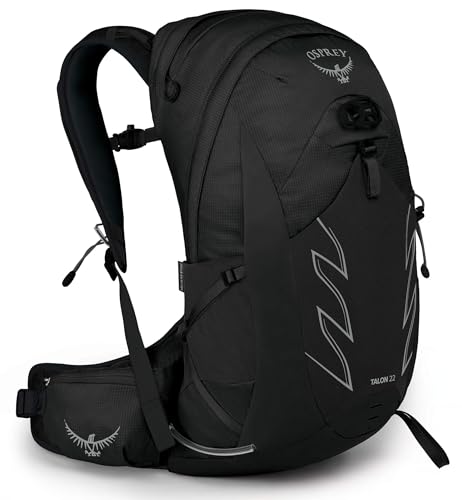
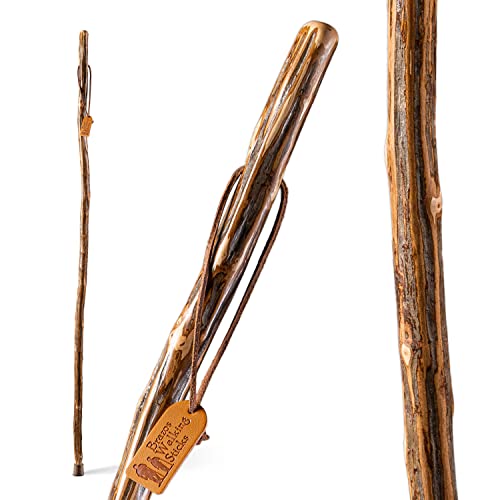
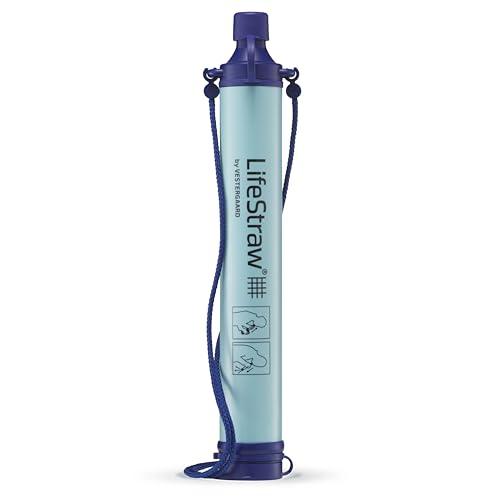
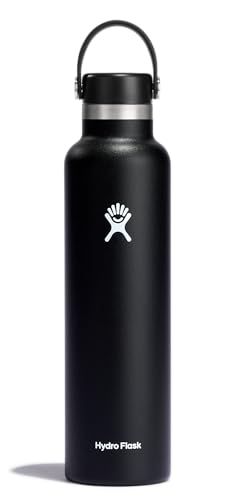
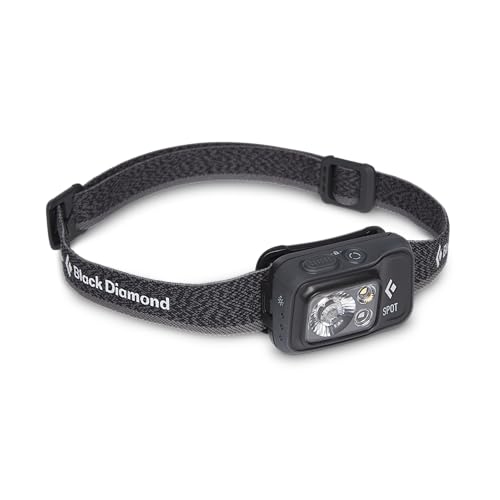
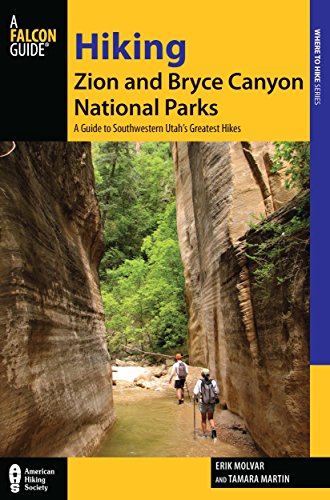
A daypack, walking stick, water, and light - the essentials for a Zion day hike. Best of Zion earns from qualifying Amazon purchases, at no extra cost to you.

Canyon Overlook FAQs
Where do I park for Canyon Overlook, and why is it so hard?
The trailhead lot sits just east of the Zion-Mt. Carmel Tunnel, and it is small - a couple dozen spaces at most, with no overflow lot nearby. It fills at first light in busy season and stays full most of the day. Parking along the highway shoulder is prohibited, so a full lot means driving on and circling back later rather than squeezing in somewhere. Arriving right at sunrise or waiting until late afternoon is the only reliable way in.
Do I need a permit or the park shuttle for Canyon Overlook?
No to both. No permit is required, and the trailhead is not on the shuttle route - it sits on the east side of the park, so you drive yourself through the Zion-Mt. Carmel Tunnel to reach it rather than boarding a bus from the Visitor Center.
How long does the Canyon Overlook hike take?
Budget about an hour round trip for the full 1-mile out-and-back, plus extra time at the overlook itself - most people linger for photos. It is short enough to fit into a driving day between Zion Canyon and the east side or Bryce Canyon.
Is Canyon Overlook safe for kids, given the drop-offs?
Families hike it regularly, and the most exposed ledges have railings or chain-link fencing. That said, not every drop-off along the shelf trail is guarded, and the surface is uneven slickrock and rock-cut steps rather than a flat path. Sure-footed kids who listen well do fine - just keep them within arm's reach on the unrailed stretches and at the overlook itself.
Is Canyon Overlook better at sunrise or sunset?
Both work, and each gives you something different. Sunrise lights the canyon walls warm and gold while the lot is still empty - the strongest argument for an early start. Sunset throws long shadows across the same view and tends to be a little less crowded than midday, though the lot fills again as the light gets good. Midday sun is flatter and the parking pressure is worst.
How does Canyon Overlook compare to Angels Landing?
They deliver different things for very different costs. Canyon Overlook is 1 mile round trip, no permit, no real exposure risk beyond a few unrailed ledges, and about an hour of your day. Angels Landing is a 5.4-mile permit hike with chains and 1,000-foot drop-offs. If you want a huge payoff for minimal effort and no permit lottery, Canyon Overlook wins; if you want the adrenaline and the summit bragging rights, Angels Landing is the one.